Microsoft Visual C++ is a programming environment used to create applications for the Microsoft Windows family of operating systems. To use these lessons, you must have installed either Microsoft Visual Studio 2010. Although Microsoft Visual Studio 2010 Professional provides many programming environments for the price of one, in our lessons, we will use it but we will cover only the Microsoft Foundation Class (MFC) library side.
After installing it, to use the programming environment, you must first open it. To do that, you would click Start -> (All) Programs -> Microsoft Visual Studio 2010 -> Microsoft Visual Studio 2010.
In our lessons, unless used in code, the -> arrow means an action that should follow another. Based on this:
Edit -> Copy means click Edit, then click Copy
View -> Toolbars -> Custom means click View position the mouse on Toolbars, and then click Custom

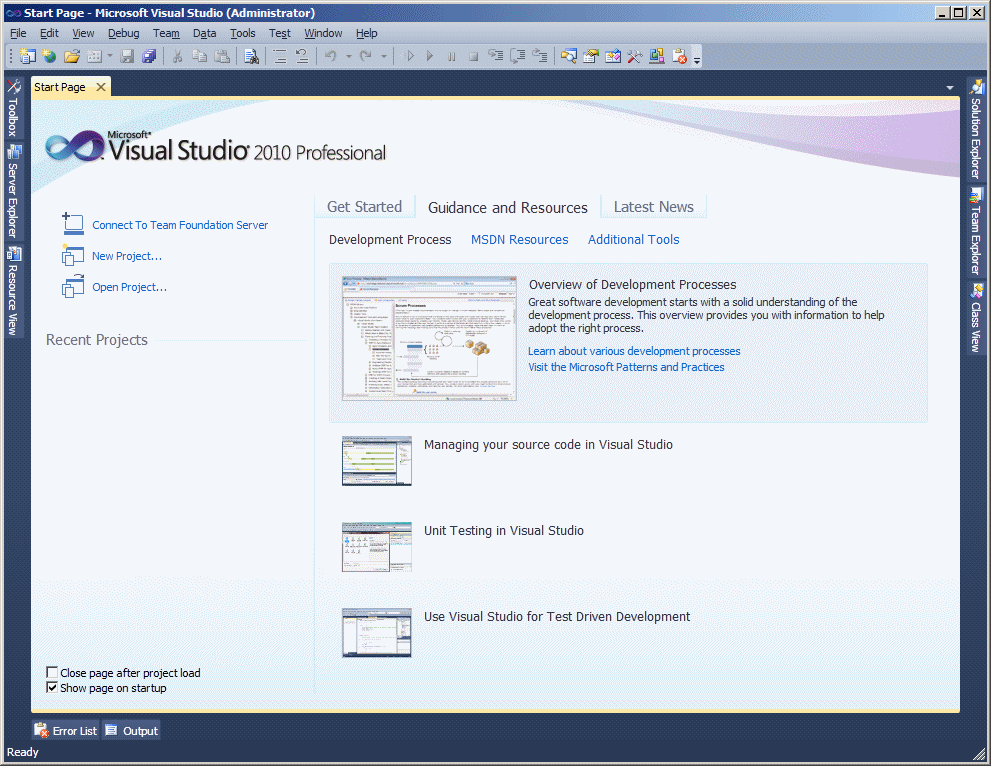
After Microsoft Visual Studio has been opened, the screen you get is called an Integrated Development Environment or IDE. The IDE is the set of tools you use to create a program.

 i) After makiing the selection, click OK

After installing it, to use the programming environment, you must first open it. To do that, you would click Start -> (All) Programs -> Microsoft Visual Studio 2010 -> Microsoft Visual Studio 2010.
In our lessons, unless used in code, the -> arrow means an action that should follow another. Based on this:
Edit -> Copy means click Edit, then click Copy
View -> Toolbars -> Custom means click View position the mouse on Toolbars, and then click Custom
- To start Microsoft Visual C++ or Visual Studio, on the Taskbar, click Start (All) Programs -> Microsoft Visual Studio 2010 -> Microsoft Visual Studio 2010
The title bar is made of three section. The left section shows the system icon. The system icon is used to identify the application that you are using. Almost every application has its own system icon. The system icon holds its own list of actions; for example, it can be used to move, minimize, maximize or close (when double-clicked) a window.
The middle section of the title bar displays Microsoft Visual Studio. This starting title displays in the beginning until you decide to create a particular type of application, then the title changes. You will experience it once we start some programming assignments. The middle section of the title bar can be also used to move, minimize, maximize the top section of the IDE, or to close Visual Studio. You can perform these actions by right-clicking the title bar and selecting from the menu.
The right section of the title bar shows three system buttons:
| Button | Role | ||
 |  |  | Minimizes the window |
 |  |  | Maximizes the window |
 |  |  | Restores the window |
 |  |  | Closes the window |
The main menu under the title bar is used to perform all types of actions on the IDE. In our lessons:
- The expression "main menu" refers to the menu in the top section of the IDE
- MSVC means Microsoft Visual C++.
A toolbar is an object made of buttons. These buttons provide the same features you would get from the main menu. Under the main menu, the IDE is equipped with a Standard toolbar used to create a new project, open a file, save a project, etc
Besides designing applications, one of your most regular jobs will consist of writing code that directs the computer as to what to do, when, and how to do it. This is done in an appropriate window called the Code Editor.
The Code Editor is a feature-rich text editor programmed to recognize the parts of a program that belong to C++ or not. The Code Editor manages your jobs by organizing its files into labels or tabs. If your project contains more than one file, you can click the desired tab to access one of the files.
The basic building block of a program is called a C++ file. Whenever you create a new project, the Microsoft Visual Studio programming environment creates various files, such as header files and source files. To display a header file, you can double-click its name in the Class View. Since the source and the header file go in pair (when using classes), they hold the same name but have different extensions.
A toolbar is an object made of buttons. These buttons provide the same features you would get from the (main) menu, only faster. Under the main menu, the Integrated Development Environment (IDE) is equipped with the Standard toolbar.
By default, when you start Microsoft Visual Studio, it is equipped with one toolbar: Standard. To get more toolbars, on the main menu, you can click View -> Toolbars and click the toolbar of your choice. You can also right-click any available toolbar or the main menu. This displays a list of all the available toolbars. Those that are currently opened have a check mark next to them.
A toolbar is equipped with buttons. To know what a button is used for, you can position the mouse on top of it. A tool tip will come up and display for a few seconds. In our lessons, each button on any toolbar will be named after its tool tip. This means that, if a tool tip displays "New", its button will be called the New button.
Microsoft Visual Studio's menus and toolbars can be customized. You can customize a menu category on the main menu by adding a menu item to it. You can customize a toolbar by adding a button to it. To start, right-click anything on the main menu or on any toolbar and click Customize... For example, imagine you want to add an item named Start Without Debugging so that it would let you easily execute your projects and you want to add its button to the Standard toolbar, and imagine you want to position it on the left side of the Start button:
To proceed:
- You can right-click any button on any toolbar or right-click the main menu and click Customize
- On the Customize dialog box, click the Commands tab
- Click the Toolbars radio button
- In the right combo box, select the toolbar to which you want to add a button. In this case, that would be Standard
- In the Controls list, click the button that will succeed the one you want to add. In this case, this would be Start / Continue:
- In the right list, click Add Command
- In the Add Command dialog box, in the Categories list, select the category that has the button you want
- In the Commands list, click the button or menu item you want. For our example, that would be Start Without Debugging
 i) After makiing the selection, click OK
In the same way, you can customize any toolbar and any menu category.
While working on your projects, you will usually need to figure out how something can be done and sometimes why it is done like that. There are three primary types of help you can use: online, MSDN, and others.
When Microsoft Visual Studio gets installed, it asks you whether you want to install the MSDN library. This is because it ships with a DVD that contains online help files. If you decide to install the MSDN library, it would be installed as an independent program but would be internally linked to Microsoft Visual Studio.
To get help while you are working on a project, click the item, keyword, or class, etc and press F1. The browser Help window would display help on the topic:
Comments
Post a Comment